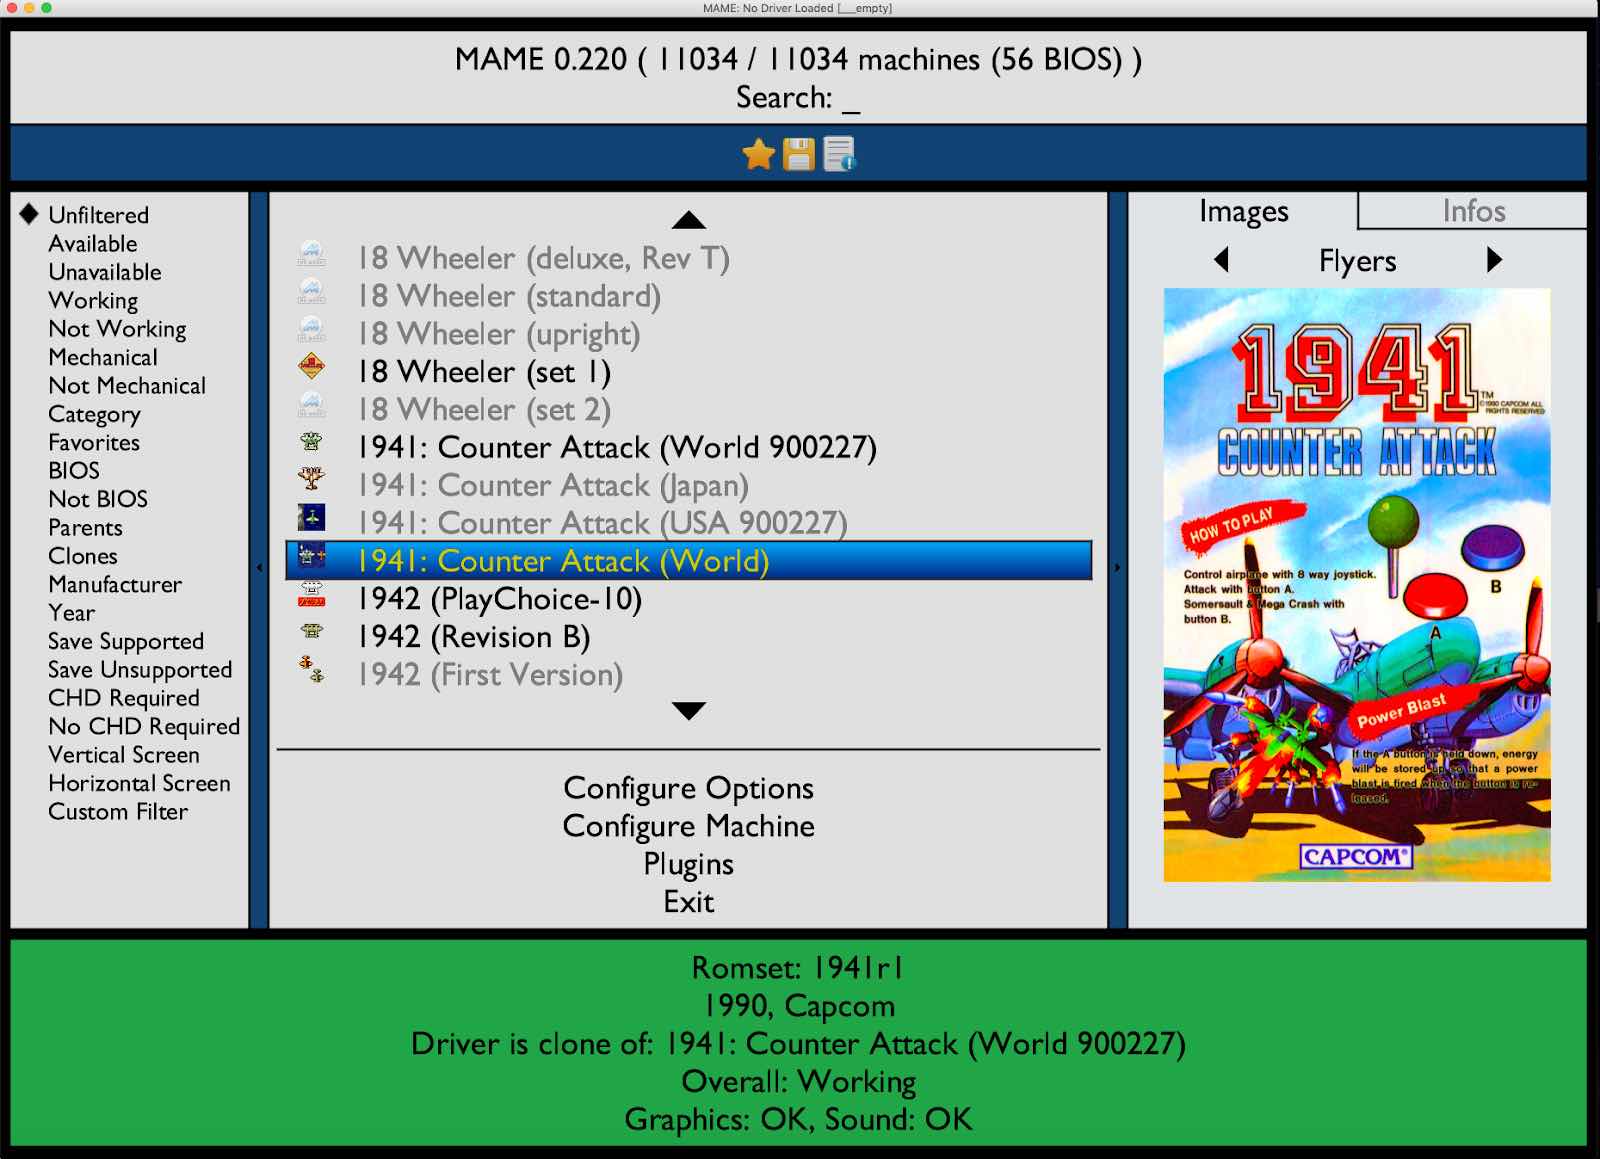
via its internal interface MEWUI (default MAME UI since 0.171) and a text editor.
If you are willing to work with your Terminal and a Text Editor, it is by far the best way to set up and maintain MAME, irrespective of which frontend you wanna use later on.
So let's go step by step from scratch.
 |
| MEWUI - click to enlarge |
Download and install SDL 2 as explained here. Download a good text editor - I now use Atom - https://atom.io, which needs a bit of a learning curve, but it's a very decent Open Source editor.
Change Finder Settings in order to display hidden folders and files, e.g. with Deeper (you need access to your User Library folder, which is by default a hidden folder). Another very smart way to display hidden folders and files is this key combo in the finder: SHIFT-CMD-.
 |
| Shift - CMD - . and you see the hidden files greyed out, but fully accessible, very neat! |
Of course, download MAME from here and unzip it into the place of your choice. Obviously this is the SDL version of MAME complied for Macs.
Recommendation: I currently keep my running MAME version in the folder 'mame' and keep only older versions in a version-related directory. This definitely helps you further on to stay consistent and carry on your work from version to version.
Step 2 - Create .ini files in the Terminal and manually configure ini paths
After a lot of testing, my recommendation is to create your first .ini files from the Terminal. This should save you from a lot of headache by multiple .ini files that just cause confusion.
- Start Terminal and cd into your directory of MAME (recommendation: name your main directory mame, see above)
- Now in the Terminal and in the right directory, the command ./mame64 -cc generates the three default config files in your mame directory:
mame.ini - your overall configuration file for MAME
plugin.ini - your configuration file for activating and deactivating MAME Plugins
ui.ini - your configuration file for the MEWUI interface
- By default, mame.ini contains the following multiple ini paths:
inipath "$HOME/Library/Application Support/mame;$HOME/.mame;.;ini"
Recommendation: In my own experience, this is rather unfortunate, because you may end up with multiple .ini files at multiple places rather easily. Since MAME then considers all these .ini files in a certain order, you may be lost in chaos. Right now, I actually prefer having all .ini files in the MAME sub-directory called ini, thus I reduce this line as follows:
inipath ini
This means of course that you have to move the three .ini files created in the first step into the ini subdirectory. As long as you do not forget about the ini directory when moving to a new MAME version, this is probably easiest to handle, and the /Library/Application Support directory stays clean of MAME config files.Step 3 - Start MEWUI (the right way)
Open Terminal and switch to your MAME working directory (easiest way: type 'cd' and then drag the mame directory from the Finder into the Terminal -> press Return in the Terminal window)
Warning: starting mame64 with double-click does not work in the right way -> so start via Terminal as explained here. So you must be in the MAME working directory!